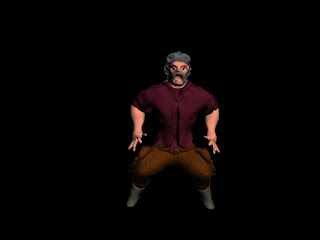
This week was alway going to be the week when it all came together, it did but not without a little problem.When we recieved the mapped model from Charlie somehow the skin had unattached itself from the bones , the envelopes had been lost. we had one of two choices, re-do the envelopes or re-do the materials.
We decided between us that the easiest solution was to just re-colour it. So I started on that why Karl made a start with the presentation.

I again used a Multires, just because this would have took sooo much longer if I hadnt of because of the amouth of faces there were.Then i selected the majority of a part using the element selection tool in the edit poly column under modify, and if there were any stray faces i missed , i selected them seperatly with the Polygon tool, once this was all selected I just used the material editor , picked the material, and dragged and dropped it on to the highlighted surface. this was a relativly easy task and took me around about an hour to finish.

Once I had completed the materials, I passed it over to Karl to make it move.
So once we had the Walk cycle/Animation layer back onto him, it was ready to animate!
It was a good job we made the origional grey copies of the movements because we were able to try them Chroma key'ed into the video footage, and from that we realised that we would havto put the model against a blue background as when we tryed it with a black background we got a black haze around the figure, we changed the background colour by going to the rendering option, then environment and to background colour.
Karls Movements on 3ds max...
The long shot was created using a camera at medium length, so when scaled down in size on Premier Pro it didnt lose any detail or Quality.
once we had these shot it was a fairly simple task of using the Chroma key and inserting them into the video footage on Premier Pro.


No comments:
Post a Comment